
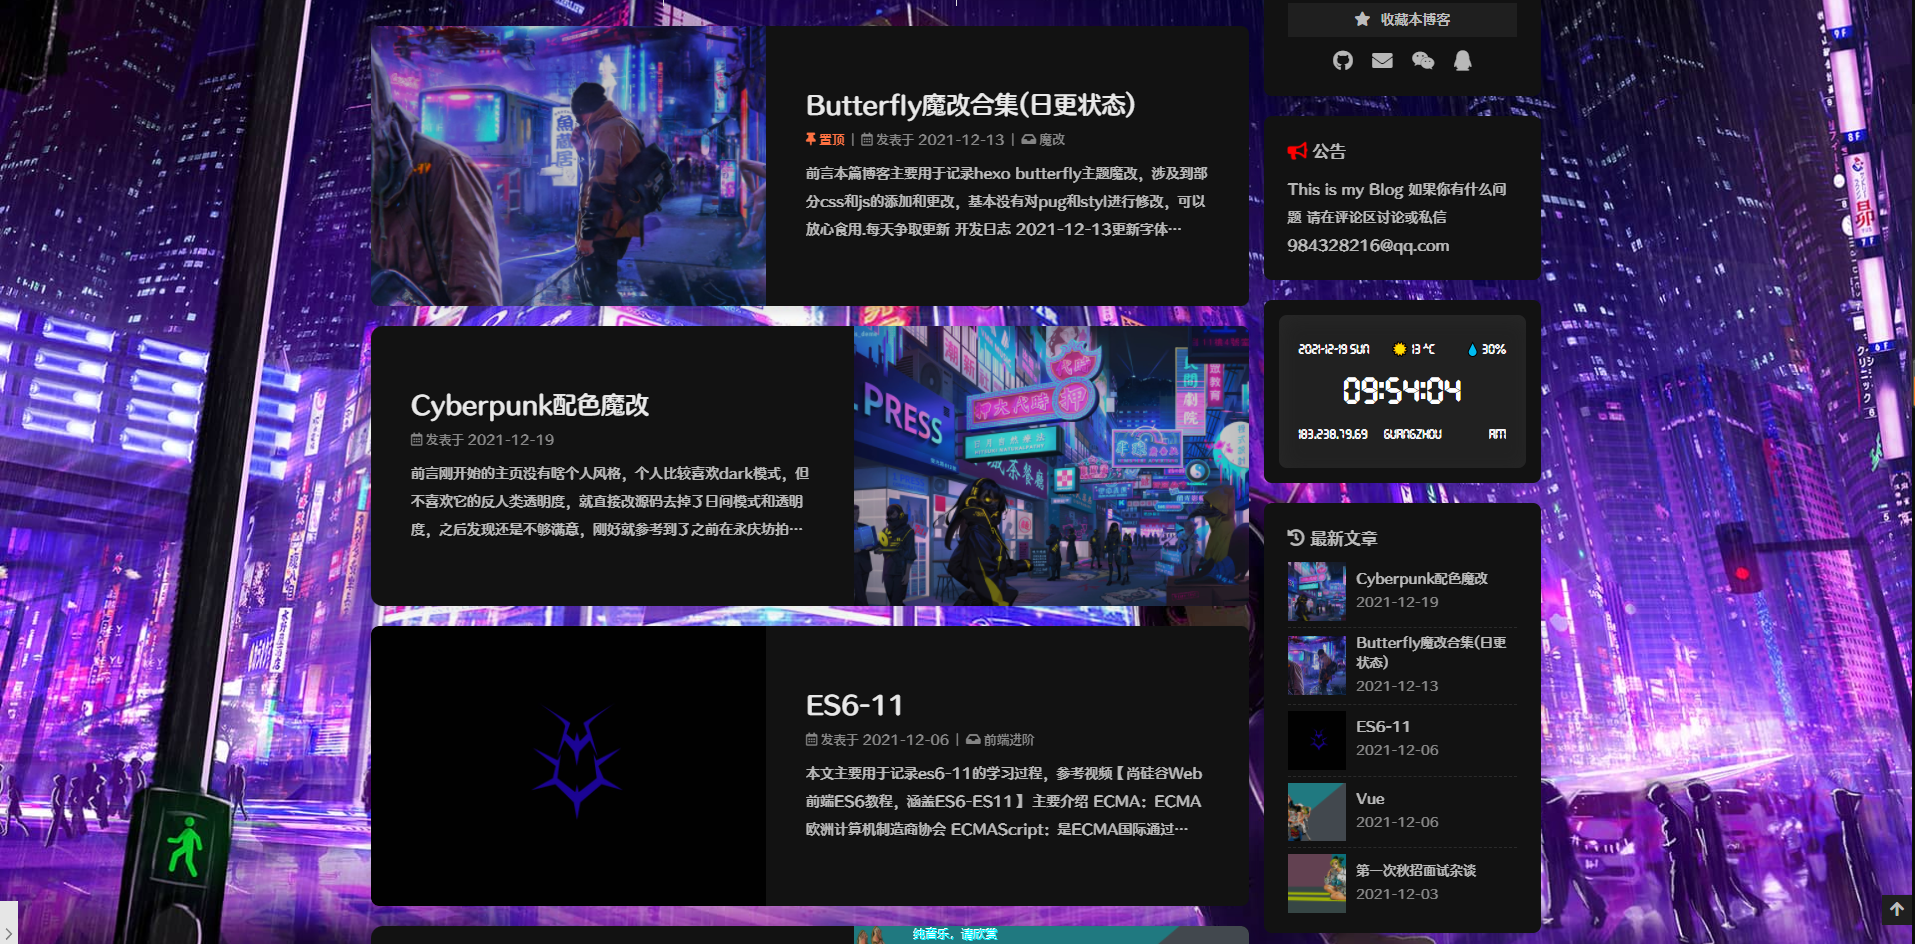
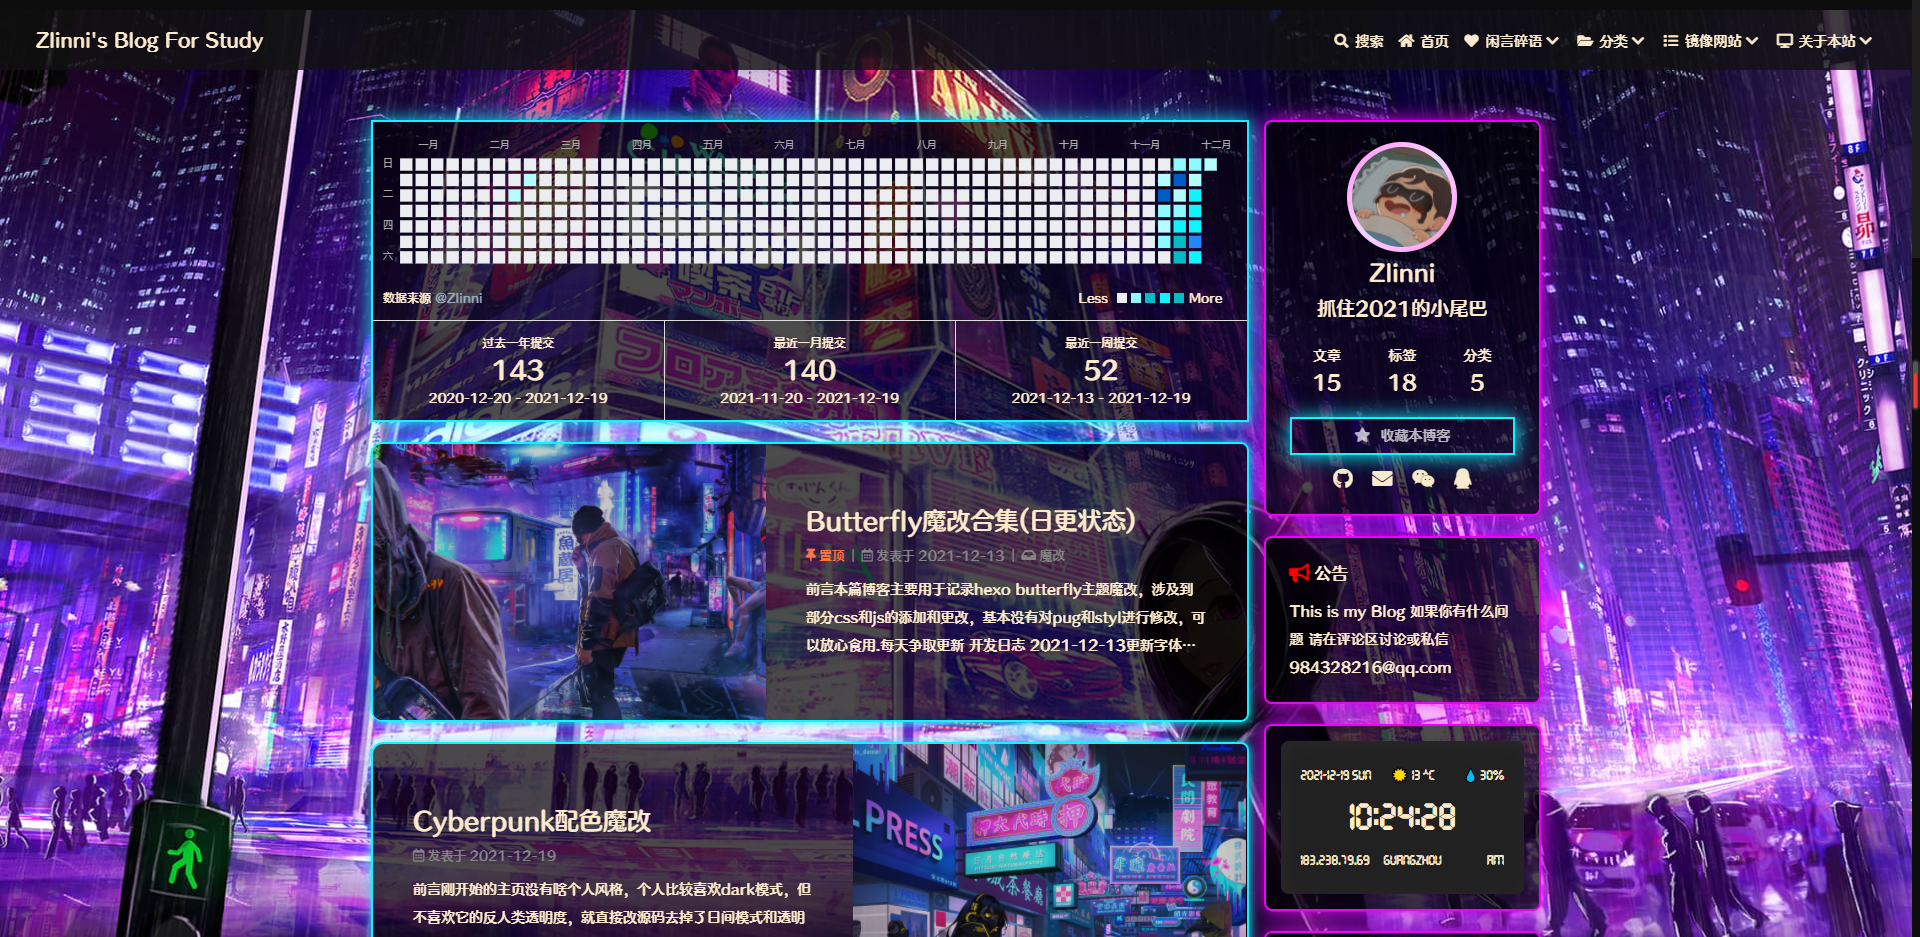
Cyberpunk配色魔改
前言
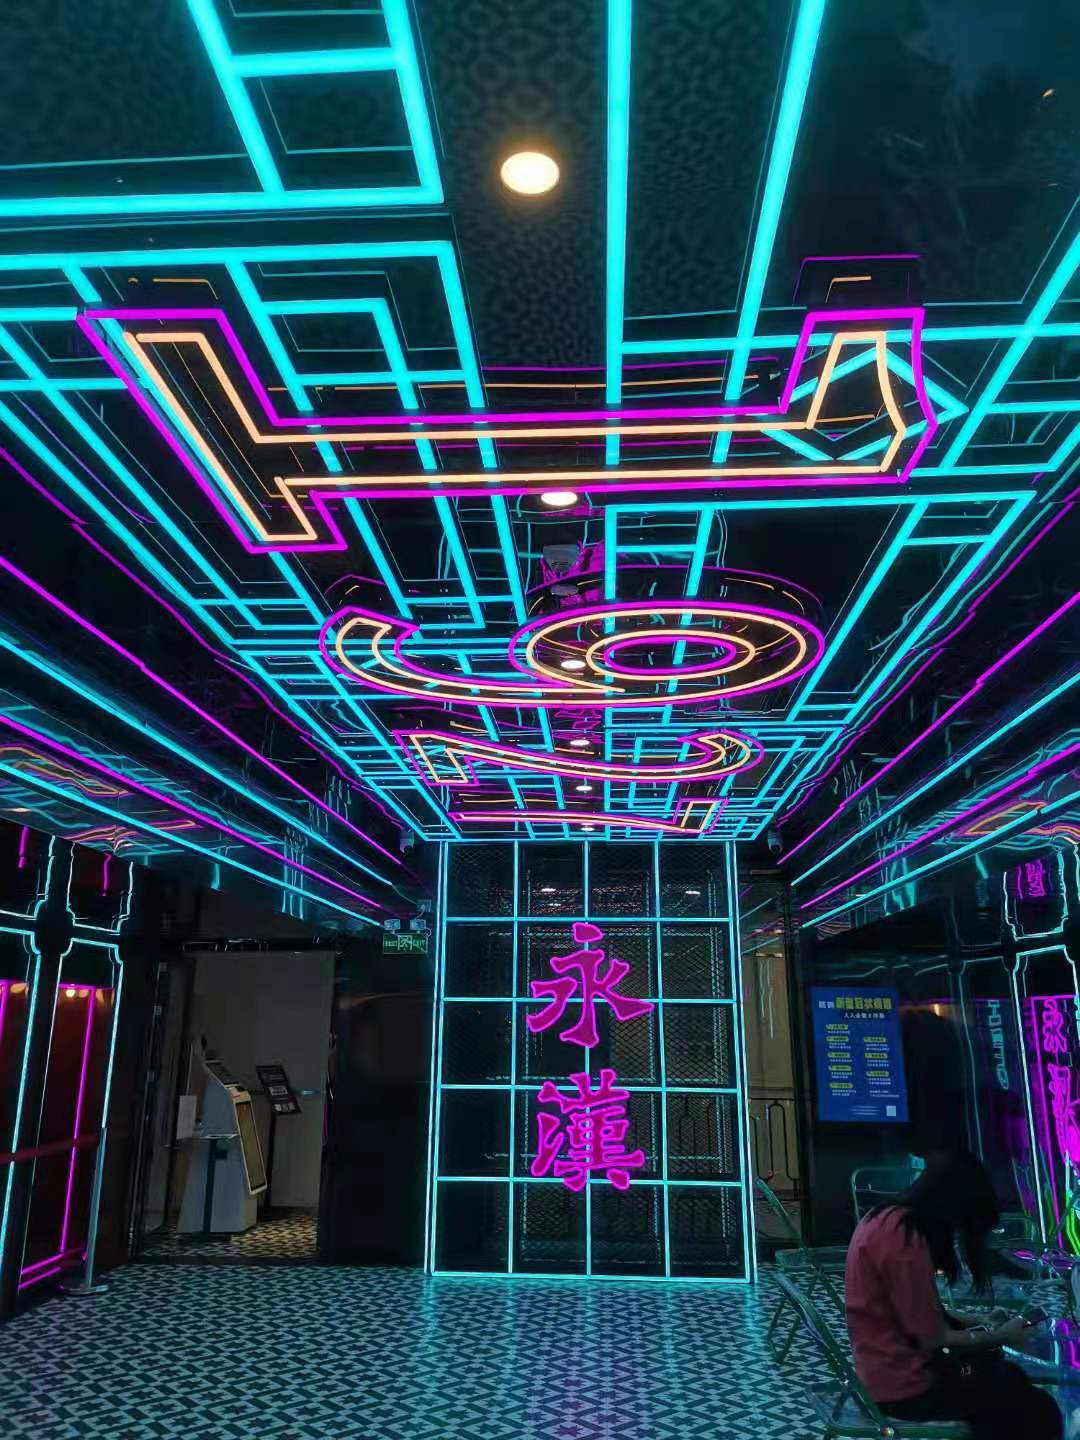
刚开始的主页没有啥个人风格,个人比较喜欢dark模式,但不喜欢它的反人类透明度,就直接改源码去掉了日间模式和透明度,之后发现还是不够满意,刚好就参考到了之前在永庆坊拍的照片配色风格
点击查看图片
使用步骤
- 新建css 自行命名 需要注意的是,如果你自己注释 最好不要使用双斜杠,如果报错,建议你移除没有的部分
1
2
3
4
5
6
7
8
9
10
11
12
13
14
15
16
17
18
19
20
21
22
23
24
25
26
27
28
29
30
31
32
33
34
35
36
37
38
39
40
/* 所有背景(包括首页卡片、文章页、页面页等) */
#aside_content .card-widget, #recent-posts>.recent-post-item, .layout_page>div:first-child:not(.recent-posts), .layout_post>#page, .layout_post>#post, .read-mode .layout_post>#post{
/* 以下代表白色透明度为0.3 */
background: rgba(0,0,0,.7) ;
border:2px solid #0ff5ff;
box-shadow: 1px 1px 10px #0ff5ff ;
}
#git_container,#archive,#page{
background:rgba(0,0,0,0.7);
border: 2px solid #0ff5ff ;
box-shadow: 1px 1px 20px #0ff5ff ;
}
/*收藏博客的边框*/
.card-info #card-info-btn {
border:2px solid #0ff5ff ;
box-shadow: 1px 1px 20px #0ff5ff ;
background-color:transparent ;
}
.button--animated:before{
background:#0ff5ff;
}
/*所有的侧边栏边框*/
.card-widget{
background:rgba(0,0,0,0.7) ;
border:2px solid #ea03f8 ;
box-shadow: 1px 1px 20px #ea03f8 ;
}
/*主题下面的字体颜色*/
[data-theme='dark']{
--font-color:#fdeacc;
--text-highlight-color:#fdeacc;
}
/*电子时钟的字体颜色*/
[data-theme=dark] .clock-row{
color:#fdeacc ;
}
/*标题和副标题*/
#subtitle,#site-title{
color:#e364d7 ;
} - 注入css,找到你的主题配置文件,
ctrl+f查找inject,在head下面插入css如果以上步骤都正确的话,那么恭喜你成功完成了配色魔改1
2
3inject:
head:
- <link rel="stylesheet" href="/css/neonlight.css">
当然还没有结束,主题怎么少的了炫酷的鼠标特效,那么鼠标特效怎么拿呢?
鼠标特效
找到了个非常好的网站啊,里面你想要的都有
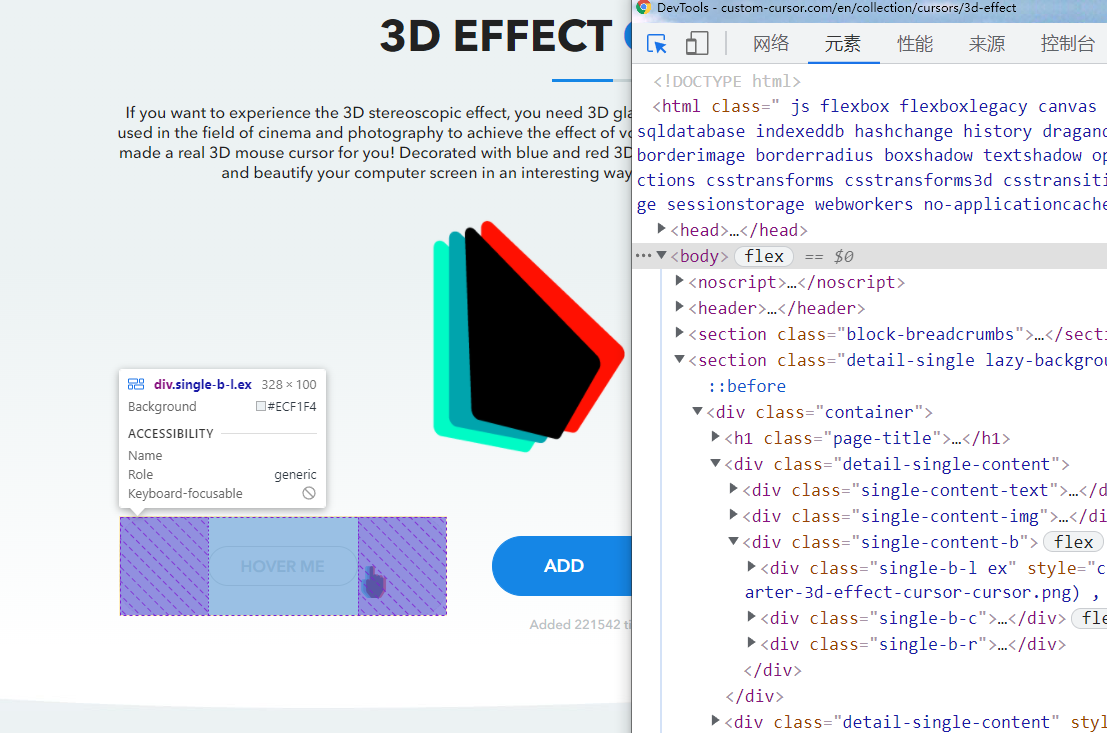
那就选这个炫酷的
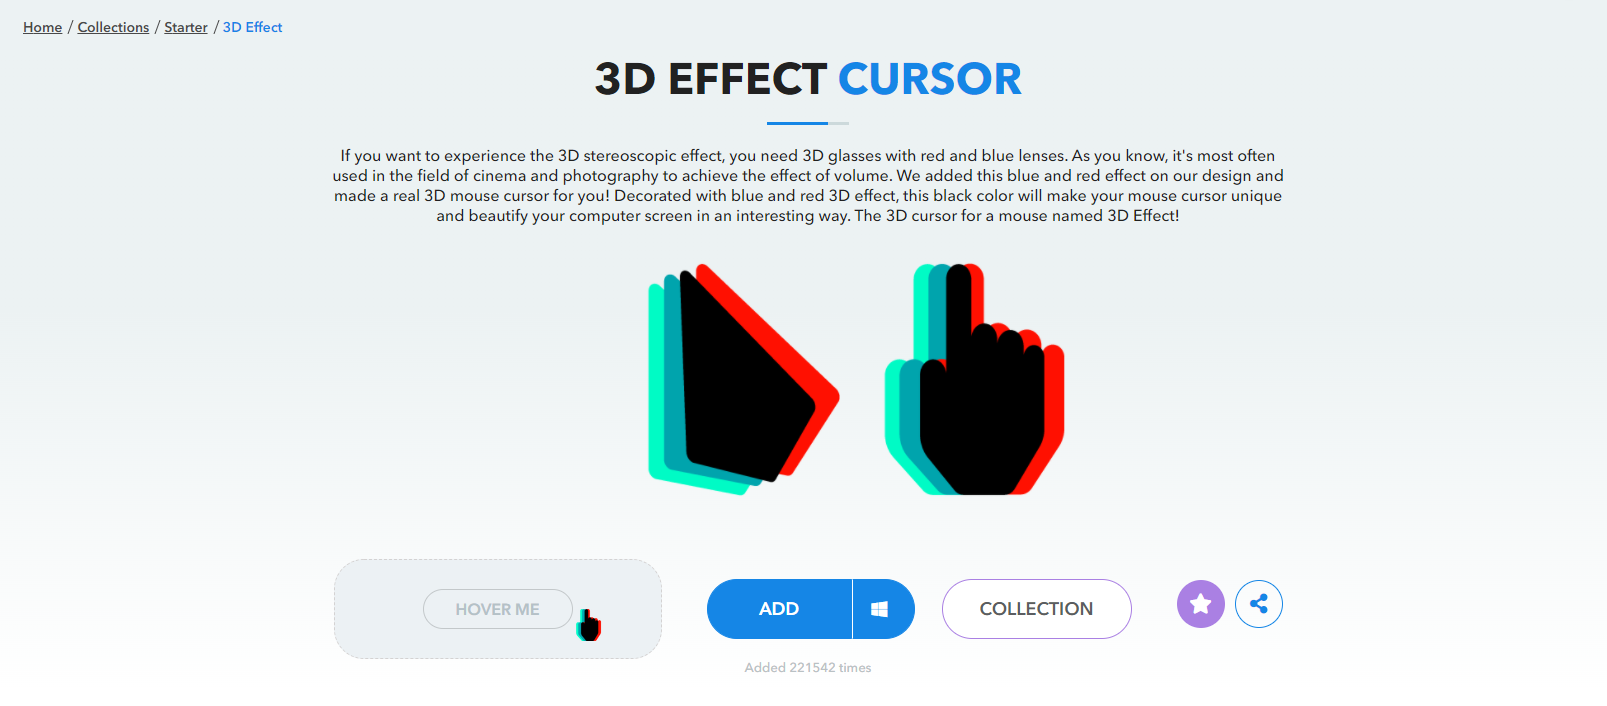
这个时候可能就不知道怎么操作了,但程序员还是有办法的
- 打开f12,点击左上角选中元素,选择hoverme框框

- 点击hoverme外框 复制一份
- 点击hoverme内框 复制一份
- 新建css 将刚刚复制的两份 粘贴上去
1
2
3
4
5
6
7
8/*这里放外框*/
body{
cursor:url(https://cdn.custom-cursor.com/db/7248/32/starter-3d-effect-cursor-cursor.png) , default;
}
/*这里放内框*/
a,img,button{
cursor:url(https://cdn.custom-cursor.com/db/7247/32/starter-3d-effect-cursor-pointer.png) , pointer;
} - 注入css


本博客所有文章除特别声明外,均采用 CC BY-NC-SA 4.0 许可协议。转载请注明来自 鱼与前端🐟!
相关推荐


评论