RGB头像魔改
前言
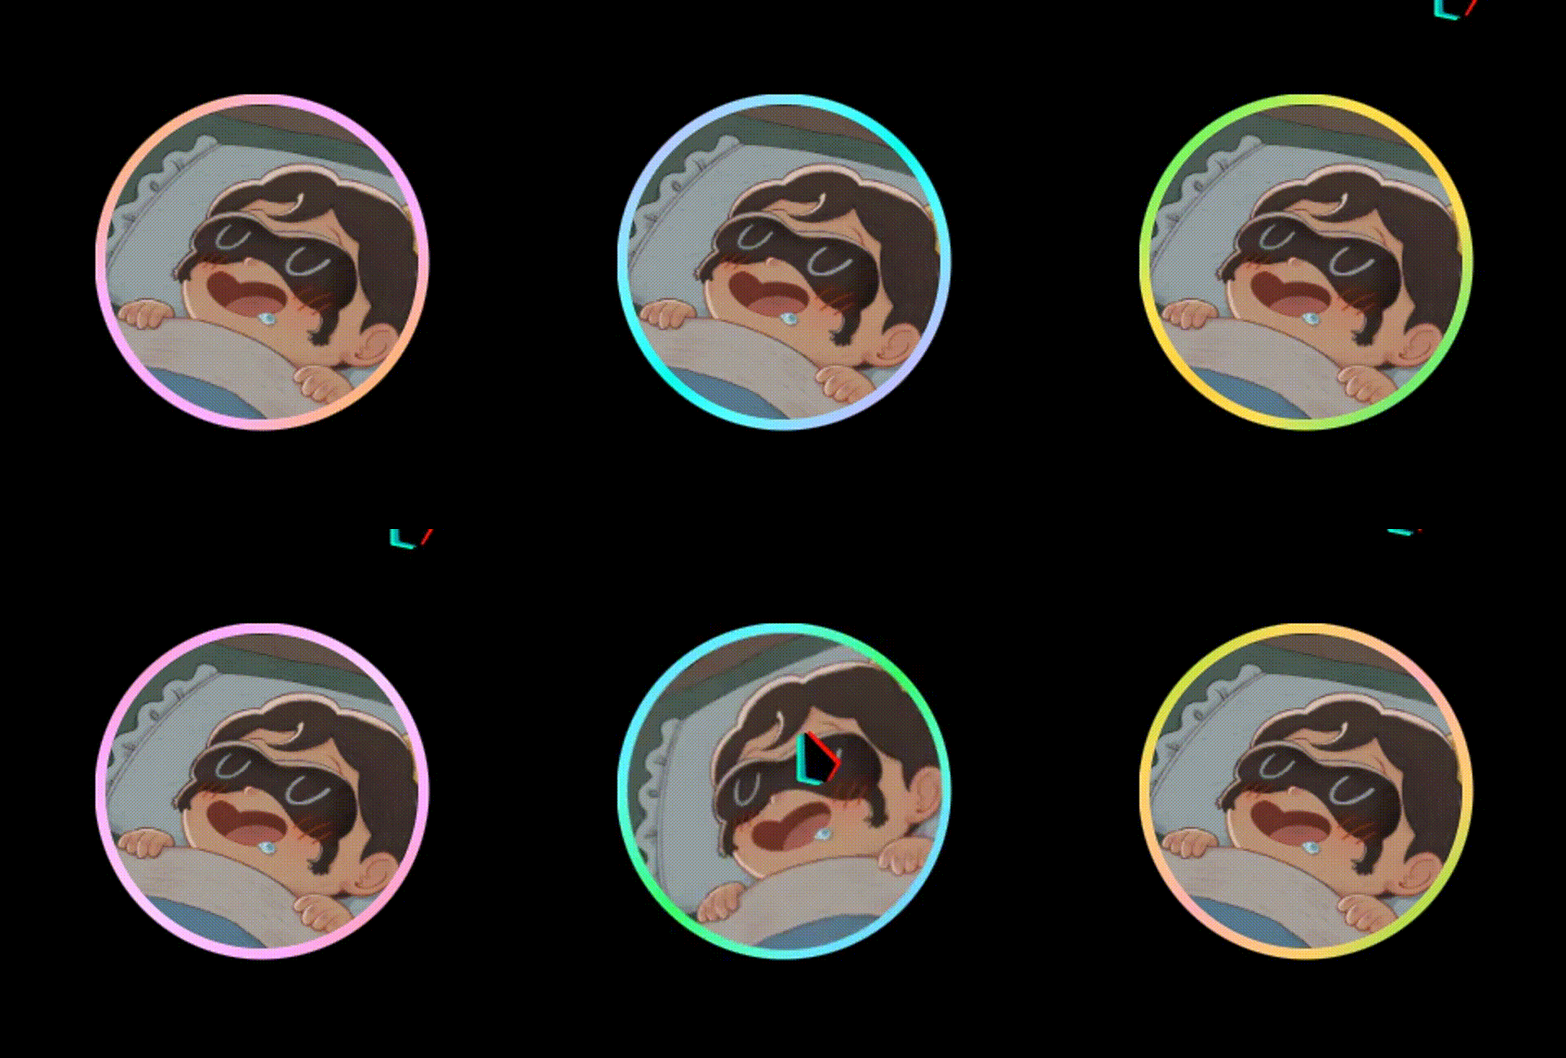
本教程为rgb头像魔改,替换原先的头像,可以自定义颜色。
预览效果
主要配置
- 引入rgbHead.css
1
2
3
4
5
6
7
8
9
10
11
12
13
14
15
16
17
18
19
20
21
22
23
24
25
26
27
28
29
30
31
32
33
34
35
36
37
38
39
40
41
42
43
44
45
46
47
48
49
50
51
52
53
54
55
56
57
58
59
60
61
62
63
64
65
66
67
68
69
70
71
72
73
74
75
76
77
/* rgb头像魔改 */
.avatar-img {
display: flex;
justify-content: center;
align-items: center;
overflow: visible;
border-radius: 55px;
box-shadow: 0 0 10px black;
background: linear-gradient(135deg, rgb(1, 255, 234), rgb(255, 251, 14), rgb(0, 238, 255));
animation: color 3s linear infinite;
transition: all 0.5s;
}
.avatar-img:hover {
box-shadow: 0 0 15px 0 #000;
}
@keyframes color {
to {
filter: hue-rotate(360deg);
}
}
/* 隐藏掉原先的头像 */
.avatar-img img {
display: none;
}
.centerBox {
display: flex;
flex-direction: column;
align-items: center;
}
/* 引入新的头像 url是你的头像位置 */
.newheadBox {
position: absolute;
top: 25px;
width: 100px;
height: 100px;
border-radius: 50px;
background: url(../img/head/boji.jpg);
background-size: cover;
z-index: 20;
}
/* 防止和上面的菜单冲突 添加一下zindex */
#nav .site-page:not(.child):after {
z-index: 23 ;
}
/*头像旋转*/
@keyframes turn {
0% {
-webkit-transform: rotate(0deg);
}
25% {
-webkit-transform: rotate(90deg);
}
50% {
-webkit-transform: rotate(180deg);
}
75% {
-webkit-transform: rotate(270deg);
}
100% {
-webkit-transform: rotate(360deg);
}
}
.newheadBox:hover {
animation: turn linear 0.5s;
} - 引入addEle.js
1
2
3
4
5
6
var cardinfoBox = document.getElementsByClassName('card-info')[0].children[0];
console.log(cardinfoBox);
var newheadBox = document.createElement('div');
newheadBox.classList.add('newheadBox');
cardinfoBox.classList.add('centerBox');
cardinfoBox.insertBefore(newheadBox,cardinfoBox.childNodes[0]);
本博客所有文章除特别声明外,均采用 CC BY-NC-SA 4.0 许可协议。转载请注明来自 鱼与前端🐟!
评论

